Making things
From Allotments4All
Contents
Creative Options
This page contains guidance and photos of practical allotment equipment that you can make at low cost from either new materials or recycled items.
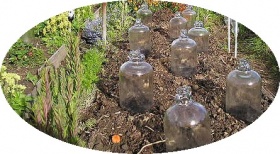
Bell Cloches from Demijohns
All you need is one of those hand held glass cutters with the little wheel on it and a work bench or a table top vice so you can clamp the glass cutter with the wheel rotating horizontally about an inch off the work surface.
With the glass cutter firmly clamped in place you score the groove around the bottle by resting it on the work surface and then rotating it while pressing it against the cutter wheel. Try and get a single score mark which is joined up all the way around
Then you need to fashion youself something like a quarter of an inch thick metal rod with a slight bend about a couple of centimetres from one end. The shape and length of this is quite important since you are going to use to stick down the inside of the demijohn.
You use this to tap lightly at the score line from the inside of the bottle. If you tap fairly lightly you will get a slight crack forming at that point. Then you move another half a centimetre along the score line and tap again and the crack will follow the line you have scored on the outside of the bottle ( I know, I didn't believe it either but if you are gentle with the tapping the crack will run true and follow the score line).
As you work you way round the sound made by the tapping starts to get quite dull, which is a warning that both parts will soon part company. When the crack is completely joined up, your new bell jar will part company with your new flowerpot tray!
Tip: Giving the demijohn bit of a wash in warm water helps and working in the warm also makes the glass a bit easier to work with too.
For safety sake you may want to think about using rubber gloves and wearing goggles or glasses when you are cutting the glass. Also you can give the bottom edges of the demijonn a good twist on sandy soil to make them less sharp.
If you don't have any demijohns its worth keeping your eyes open at the local glass recycling point.
As an alternative to tapping from the inside, tie a single line of string around the cut, soak in lighter fuel, put the jar on it's side and ignite the fuel. As soon as the flames die out dunk the jar bottom first in some cold water, and the base usually cracks right off. I say usually because there are sometimes flaws in the glass. A slightly riskier method certainly, but immensly satisfying when it works. Needless to say, Gloves, Mask, Goggles !!
Hosepipe joints to make bamboo arches
You can use short bits of hose pipe as 'universal joints' between bamboo canes. A bit of pipe with two 6 foot canes poked in the ends will help to make and easy build 'A' frame or an archway over the path between two raised beds, (very handy way to use redundant space and sunlight for growing Runner beans or Climbing French beans over). Three short bits of bamboo joined by two bits of hose pipe can be used as a low frame to cover any beds which low growing soft fruit is planted in.
-
Origami Plant Pots
There are quite a few different ways of making flowerpots out of newspaper, smaller ones can be made using a 'former' and larger square pots can be made using the following method - http://www.geocities.com/newspaperpots/
Plant Pots from Plastic Milk Containers
By following the diagrams below you can use 4 pint containers to create your own pots. These will have the benefit of having their own drip trays which means they can be stored indoors without mess.
By using the top half of the container the handle hole can serve as a capillary for water and feed, a few holes can also be drilled in the screw cap for drainage.
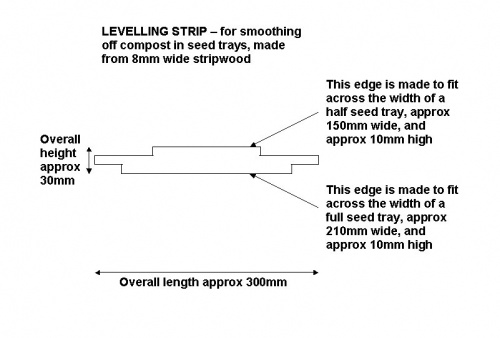
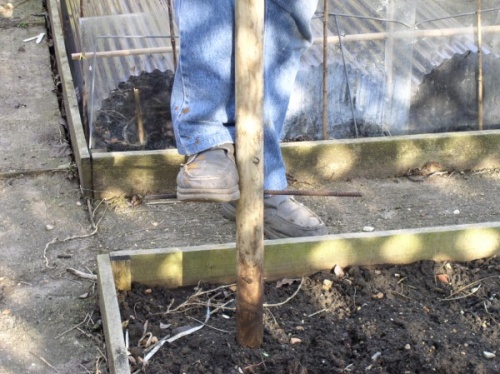
Levelling strip
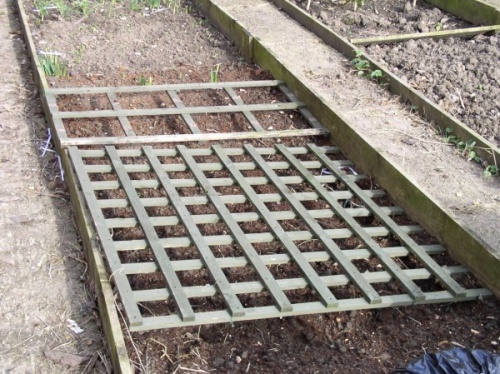
Planting grids
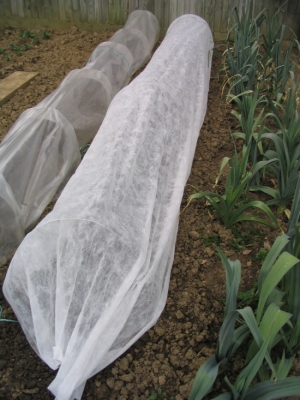
Cloches
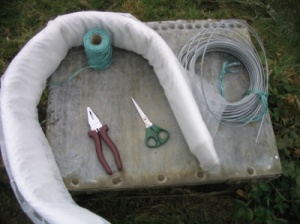
- Firstly what you will need:
- Row of fleece
- Garden string, preferably polypropylene
- 3mm or 4mm galvanised wire, not too thick or you will have a problem bending it.
- Pliers and wire cutters
- Scissors or a knife.
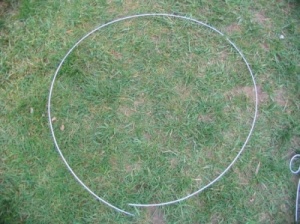
First step is to cut the wire into lengths about 14 to 16 inches longer than the width of the fleece.
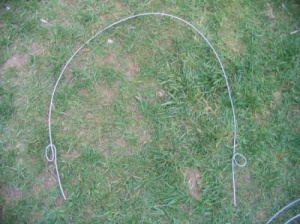
Bend the wire into a hoop and at each end make a full twist, leaving a leg of about 4 to 6 inches below the loop. The leg is driven into the soil so if you are in a very exposed area you might want to cut the wire longer.
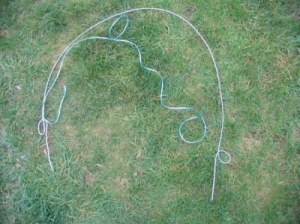
Cut a piece of string long enough to tie from one twist, stretching to the other twist, leaving enough spare to allow you can tie it.
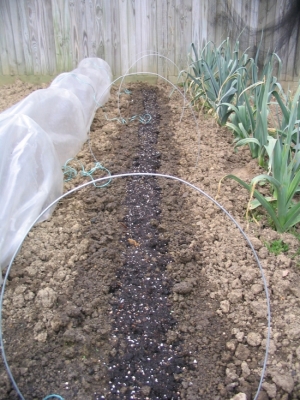
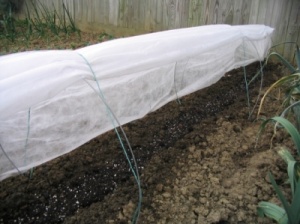
Place each hoop over the crop row, driving the legs into the ground. Place a hoop about each 3 foot along the row.
Cut the fleece to length, allow about 20 inches over the length of the row. Bunch the ends and tie. Stake one end of the fleece at the end of the row and stretch the over the hoops to the other end of the row. Stake this end as well.
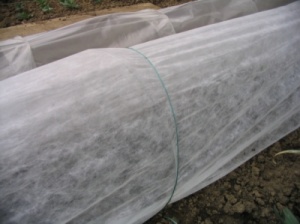
Finally take the string and bring it over the top of the fleece and tie to the other twist in the wire so the string holds the fleece to the hoop. This stops the fleece billowing around too much in the wind. I also place clods of earth along the bottom sides of the fleece to keep it tight to the ground.
If you need access to the crop it is the work of seconds to lift one side of the fleece. No need to untie anything or remove the hoops. I leave the cloche in place until harvest.
The wire hoops last years and I tend to get 2 years out of my fleece. Still far cheaper than bought cloches and it certainly keeps carrot fly at bay and gives good crops! You could also use environ mesh as this will allow more rain through which may be a factor early on during germination.
